Say goodbye to unsightly feeders suction-cupped to your tank rim. Hiding the feeder in your sump keeps your display tank pristine while maximizing how effectively food is delivered to your system.
1. The Benefits of Sump Integration
Dispensing food directly into the return pump chamber provides several major advantages over top-of-tank mounting:
2. Installation Procedure
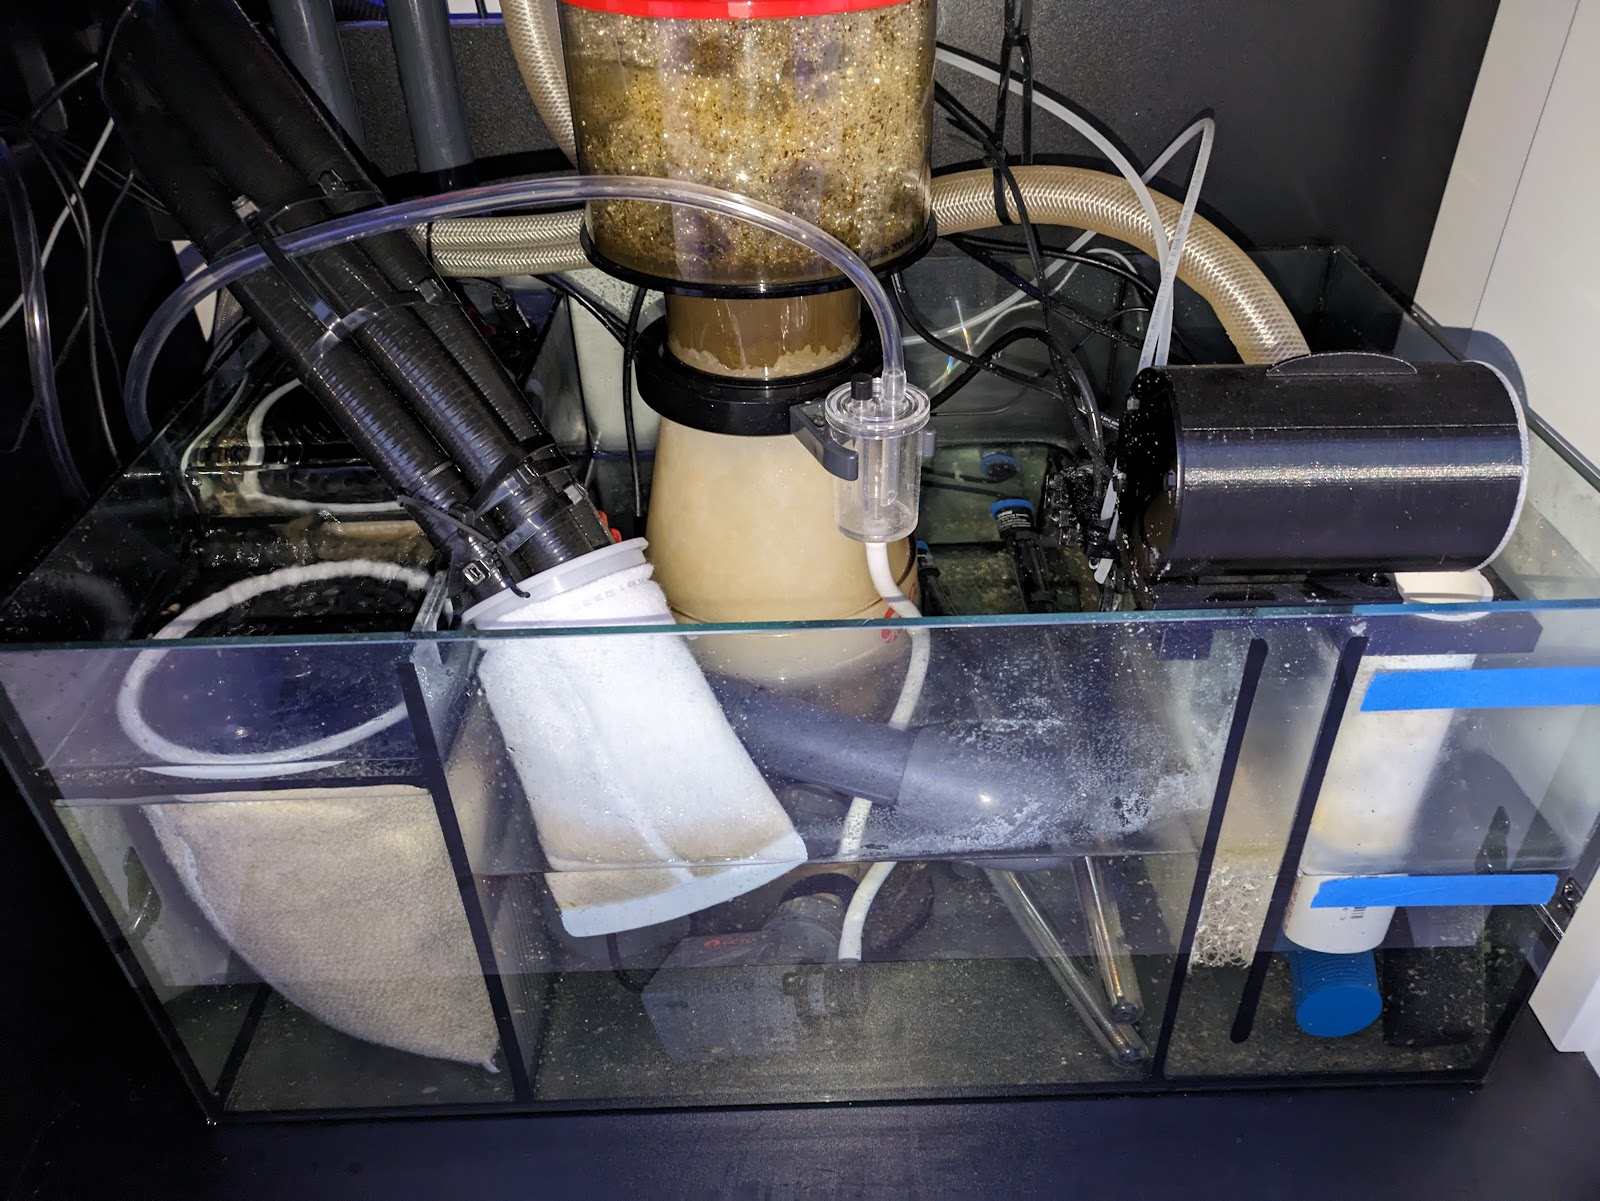
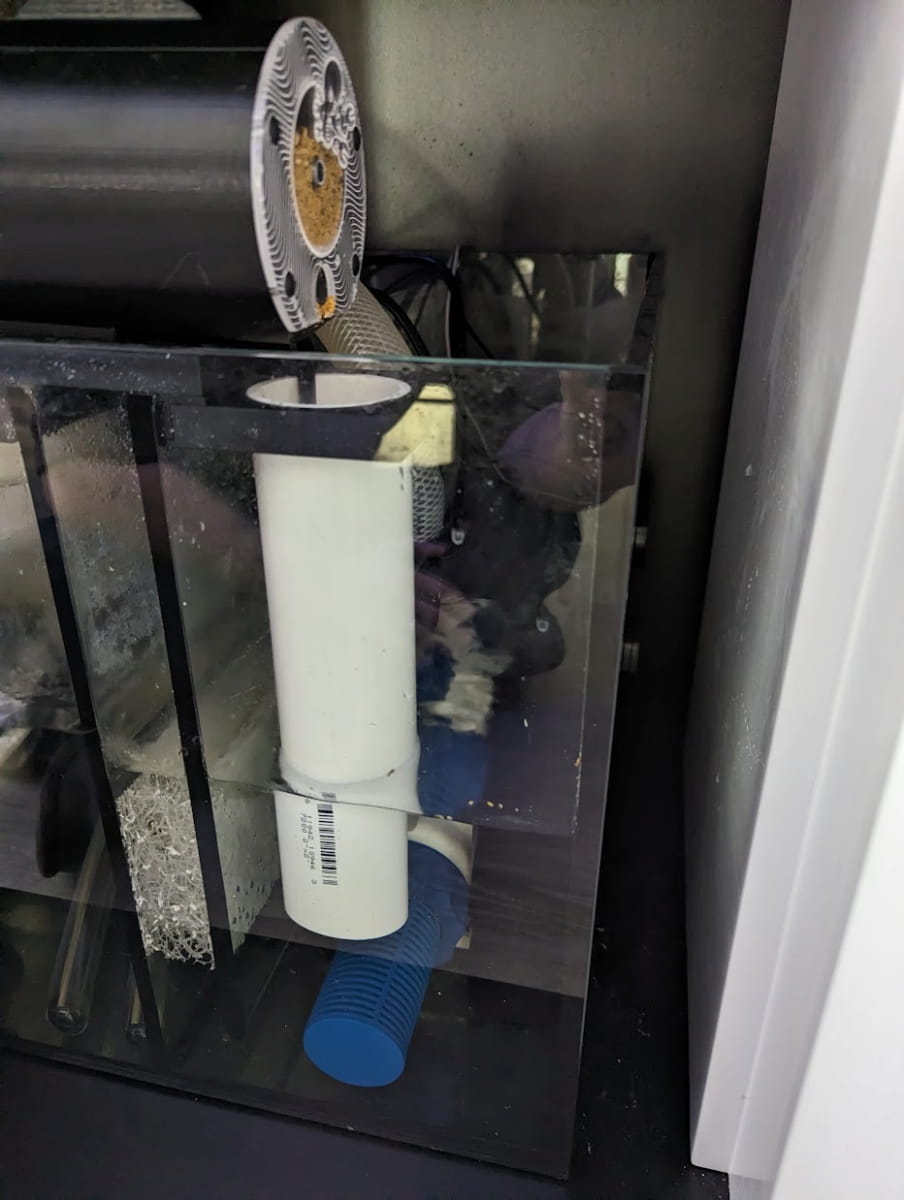
The goal is to direct the auto feeder's output directly into Your Sump's intake, ensuring the food is immediately pulled into the display.
Step 1: Plan Your Placement
Identify the best location for your Avast Marine Plank over the return pump chamber. Ensure the dispensing spout can drop food directly into the intake flow while remaining accessible for future refills.
Step 2: Modify the Output Plumbing
To get the output precisely where you want it, you will likely need to extend the default 2" PVC pipe provided with the Plank. Carefully measure and dry-fit your extension before cementing.
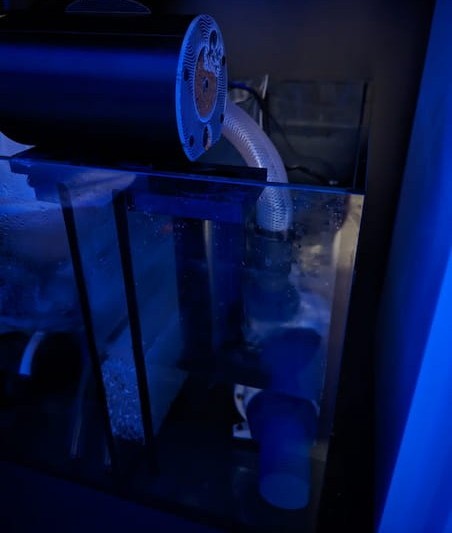
Step 3: Add a Mixing Pump (Optional)
Place a separate, small mixing pump in the return chamber. Position it to create significant water agitation exactly where the food dispenses. This turbulence ensures dry foods are thoroughly saturated before entering the main pump block.
3. Programming the Timers
Using a smart power strip like the Kasa system allows you to control both your feeder and your mixing pump with minute-by-minute accuracy via an app.
The Schedule Logic
Mixing Pump Schedule
11:55 AM: Turn ON (5 minutes before feed)
02:00 PM: Turn OFF (2 hours after feed)
Auto Feeder Schedule
12:00 PM: Plank runs for exactly 1 minute
*Caution: Be careful with freeze-dried foods as they expand rapidly. I highly recommend swapping to high-density sinking pellets.
4. Final Tips for Success
- Test Thoroughly: Manually trigger the schedule and observe if the food dispenses correctly and disperses well in your tank before relying on the automation.
- Start Small: Begin with a smaller amount of food and carefully monitor your fish's consumption and water parameters.
- Manual Feeds: Automated feeding is great for consistency, but do not forget the value of manual feeding for variety and visual health inspections.
Keep the Display Pristine
We utilize hidden equipment strategies to keep our aquariums looking clean and natural while maximizing biological stability. Explore the shop to see the corals we grow out in our dedicated nursery systems.
Shop The Apothecary Collection →